
How to enter the PVS-Studio license and what is the next move
- What the license includes
- License activation via the GUI
- License activation via the command line
- Next steps
PVS-Studio is a static analyzer for C, C++, C#, and Java code. You can run the analyzer on Windows, Linux, and macOS. It is necessary to activate the license before using the analyzer. The product is used in various environments, including IDEs and local or cloud-based CI/CD systems. Find the section relevant to your setup and follow the corresponding instructions.
Note. Follow these steps after installing the analyzer. You can download it on this page.
What the license includes
The license consists of the analyzer username associated with the license key and a 16-character license key of the "XXXX-XXXX-XXXX-XXXX" format. If you do not have a license, you can request a trial.
Here is an example of how the license information may look like:
JohnSmith           <--- Username associated with the key
ASD1-DAS3-5KK3-LODR <--- License key
License activation via the GUI
PVS-Studio Installer
You can enter the license during the PVS-Studio installation. The installation wizard prompts you to request a license or enter an existing one.
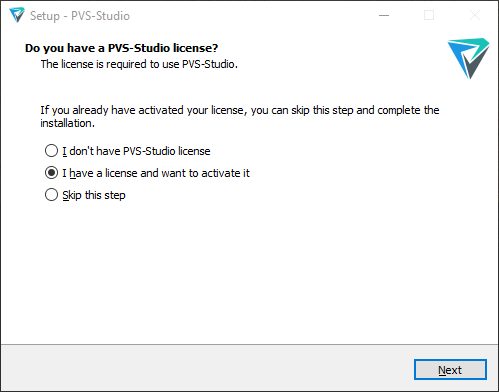
Choose I have a license and want to activate it and click Next:
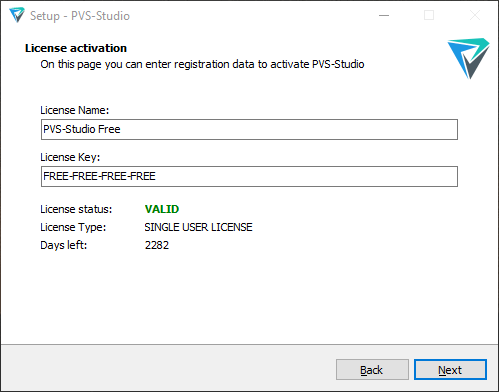
Enter the username associated with the key in the License Name field and a license key in the License Key field. If the credentials are valid, you get a message with the license information.
Microsoft Visual Studio
In the Visual Studio menu, open Extensions > PVS-Studio > Options (PVS-Studio > Options for Visual Studio 2015 and earlier):

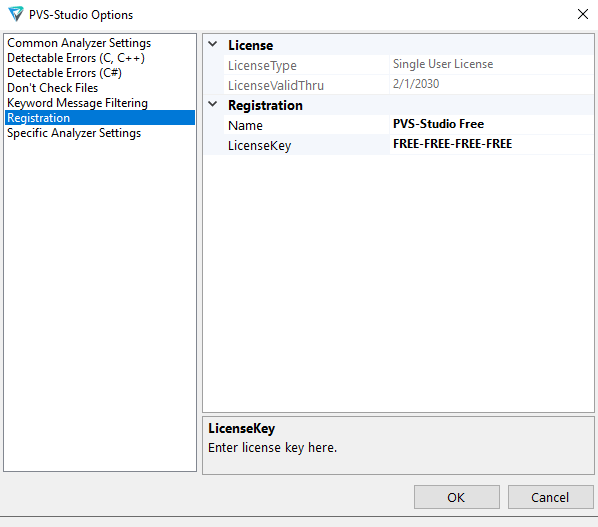
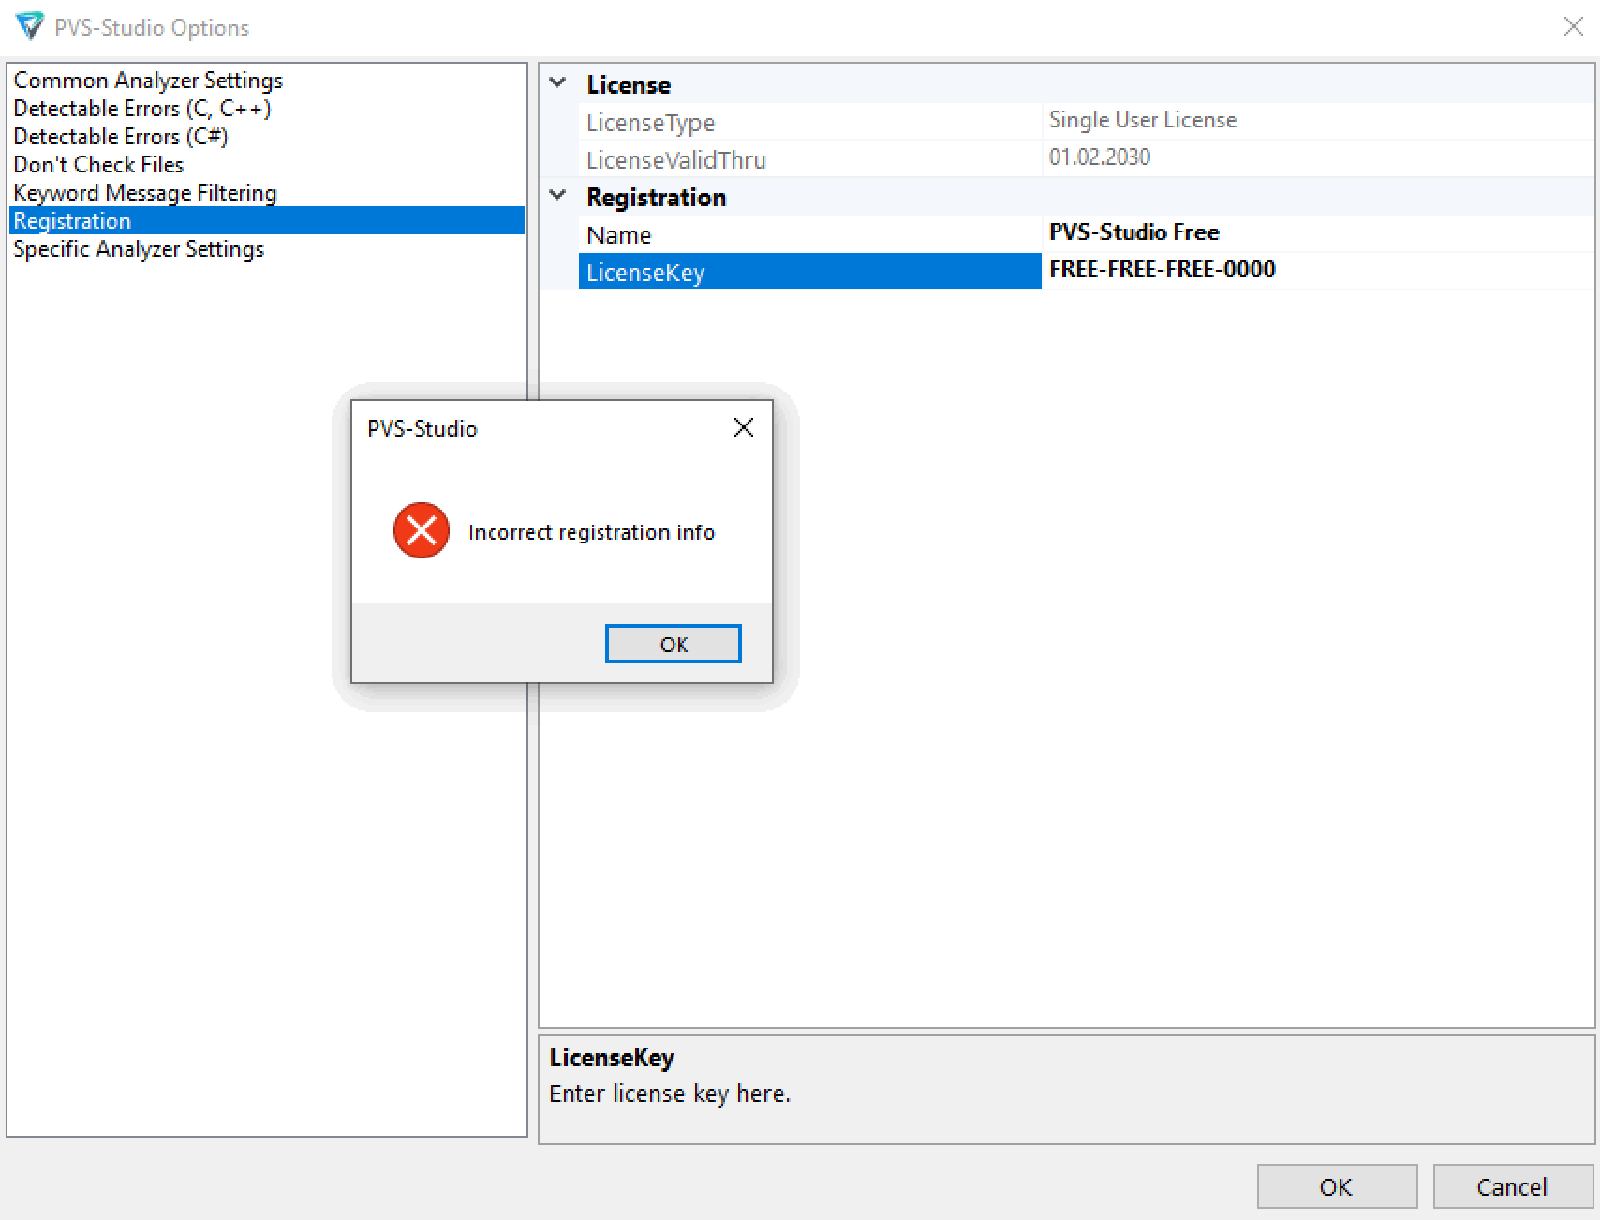
Navigate to the PVS-Studio > Registration tab in the menu:
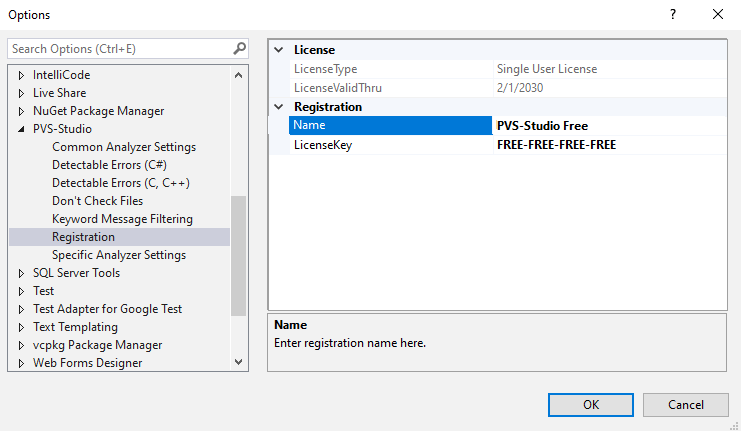
Enter the username associated with the key in the Name field and the license key in the LicenseKey field. If credentials are valid, you get a message with the license information:
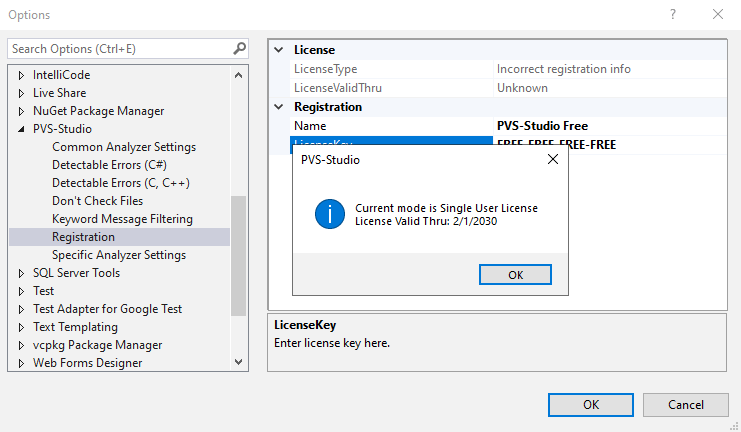
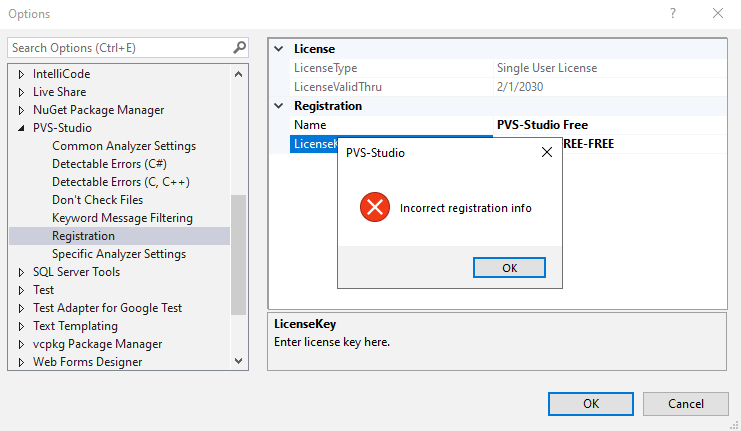
If credentials are invalid, you get the following message:
JetBrains IntelliJ IDEA / Rider / CLion
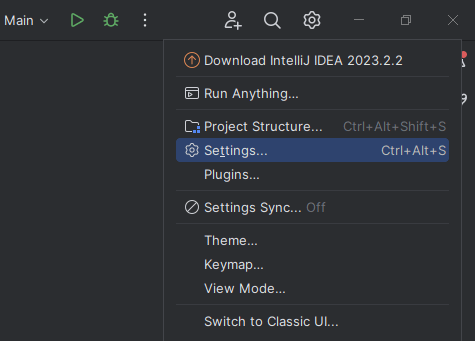
To enter the analyzer license, open any project and then the IDE settings:
Navigate to the PVS-Studio > Registration tab in the opened window.
Enter the username in the Name field and the license key in the License Key field.
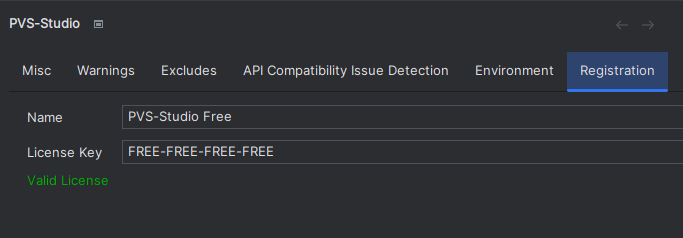
If credentials are valid, Invalid License will be replaced with Valid License and the license expiration date will appear in the Expires field. Click Apply or OK to confirm and save the license info.
C and C++ Compiler Monitoring UI
To enter the license, go to the utility menu by selecting Tools > Options > Registration:
Enter the username associated with the key in the Name field and the license key in the LicenseKey field. If credentials are valid, you get a message with the license information:

If credentials are invalid, you get the following message:
Visual Studio Code
To enter the license in Visual Studio Code, open View > Command Palette.
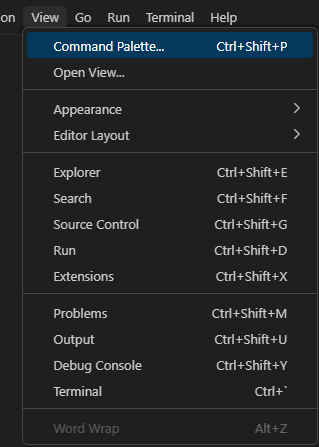
Enter "PVS-Studio: Show settings" in the search bar and click.
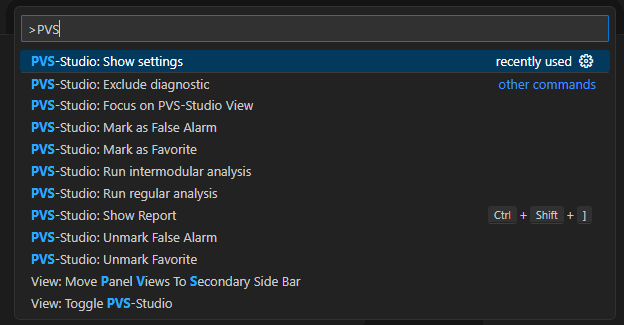
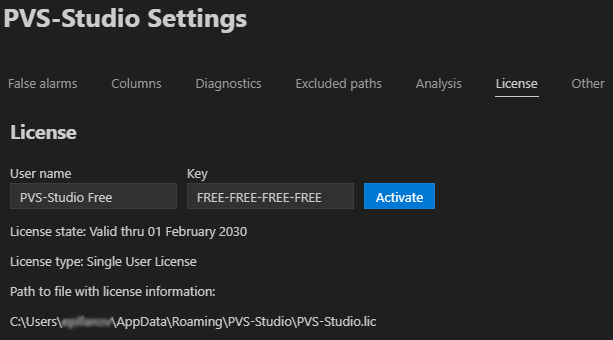
Select the License tab in the opened window.
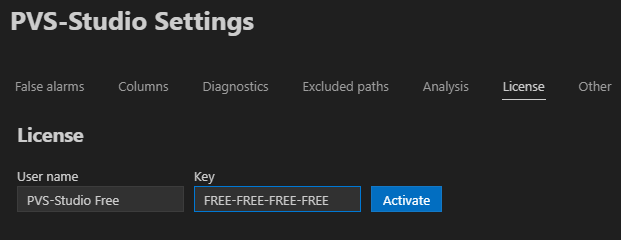
Enter the username associated with the key in the User name field and the license key in the Key field. If credentials are valid, you get a message with the license information:
Qt Creator
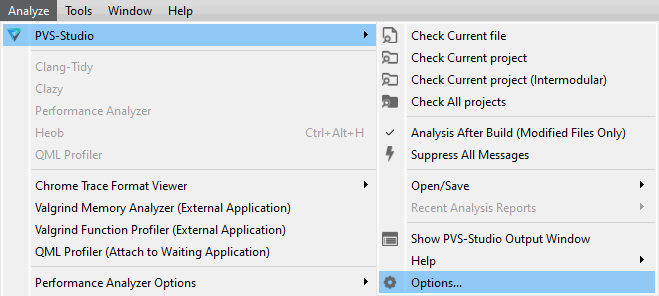
To enter the license in Qt Creator, open Analyze > PVS-Studio > Options...
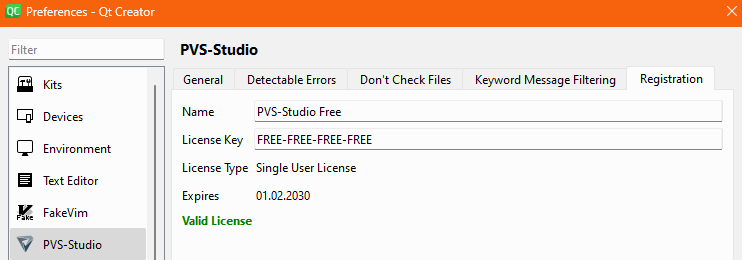
Next, click the PVS-Studio tab and open the Registration tab. Enter the username associated with the key in the Name field and your license key in the License Key field. If credentials are valid, you get a message with the license information:
If credentials are invalid, you get the following message:
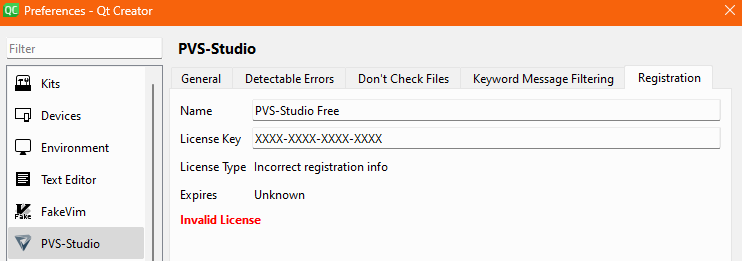
Click Apply or OK to confirm and save the entered license.
License activation via the command line
Windows
If you cannot enter the license in the GUI, use the analyzer in a special mode on Windows.
The command line may look like this:
PVS-Studio_Cmd.exe credentials --userName %USER_NAME% ^
                               --licenseKey %LICENSE_KEY%
Replace the USER_NAME variable with the username associated with the key, and the LICENSE_KEY variable with the license key.
When you run PVS-Studio this way, the analyzer writes the license to the settings file located in the default directory: %APPDATA%/PVS-Studio/Settings.xml . If the settings file does not exist, it will be created. Use the ‑‑settings flag to specify the path to the settings file in a non-default location.
Use the ‑‑licInfo flag to get current license information.
Linux/macOS
If you cannot enter the license in the GUI when running the analyzer on Linux/macOS platforms, use the special pvs-studio-analyzer utility.
The command line on Linux/macOS may look like this:
pvs-studio-analyzer credentials ${USER_NAME} ${LICENSE_KEY}Replace the USER_NAME variable with the username associated with the key, and the LICENSE_KEY variable with the license key.
When you run PVS-Studio this way, the analyzer writes the license to the settings file located in the default directory: ~/.config/PVS-Studio/PVS-Studio.lic. If the settings file does not exist, it will be created.
Use the lic-info flag to get current license information:
pvs-studio-analyzer lic-infoJava analyzer
PVS-Studio Java can be installed independently from the other components of PVS-Studio, so you can also activate the license using plugins for build systems.
If you use Maven, the command line for entering the license may look like this:
mvn pvsstudio:pvsCredentials "-Dpvsstudio.userName=${USER_NAME}" \
                             "-Dpvsstudio.licenseKey=${LICENSE_KEY}"
If you use Gradle, the license can be activated via the following command:
./gradlew pvsCredentials "-Ppvsstudio.userName=${USER_NAME}" \
                         "-Ppvsstudio.licenseKey=${LICENSE_KEY}"
When using the Java analyzer core from the console, you can activate the license via this command:
java -jar pvs-studio.jar --activate-license --user-name $USER_NAME \
                                            --license-key $LICENSE_KEY
Replace the USER_NAME variable with the username associated with the key,, and the LICENSE_KEY variable with the license key.
Next steps
You can read more about the analyzer on the following pages:
- Getting acquainted with the PVS-Studio static code analyzer on Windows
- How to run PVS-Studio on Linux and macOS (C, C++)
- PVS-Studio C# installation on Linux and macOS
- How to run PVS-Studio Java
- Get started with PVS-Studio in Visual Studio
- Using PVS-Studio with JetBrains Rider and CLion
- How to use PVS-Studio in Qt Creator
- PVS-Studio for embedded development
- Analysis of Unreal Engine projects
- Analyzing Visual Studio / MSBuild / .NET Core projects from the command line using PVS-Studio
- Analysis of C++ projects based on JSON Compilation Database
- Build-system independent analysis (C and C++)
- How to integrate PVS-Studio into CMake with a CMake module
Was this page helpful?