
Our website uses cookies to enhance your browsing experience.


Visual Studio from Microsoft has long been the main development environment to work with the PVS-Studio analyzer. Our analyzer started off on Windows, so Visual Studio was an obvious and reasonable choice. In more than 10 years of PVS-Studio development, the analyzer has become available for several other languages and platforms. No wonder people ask us if we can integrate PVS-Studio into their favorite IDEs.

A year ago, on June 18, 2020, we released the first version of PVS-Studio plugin for the JetBrains Rider environment. That event coincided with another milestone moment - release of PVS-Studio C# on Linux and macOS.
Today, we are pleased to announce that we start public beta-testing of a plugin for another IDE from JetBrains — CLion. We believe, Linux and C++ cross-platform users will get better experience of using our product due to this change. Based on beta-tests, we hope to release the first CLion plugin version in the upcoming PVS-Studio 7.14 release, at the end of July to early August.
To fully test the plugin, you'll need to install both the beta plugin version and the C++ core beta version of the analyzer. There are several ways to install the plugin: from the official repository, from the repository on our site, or using Windows PVS-Studio installer. Below we'll tell you in detail how to do this.
After you install the plugin and the analyzer, you can register for the PVS-Studio for CLion beta-test on our early access page. You will receive a trial analyzer key by email.
Find here the detailed documentation how to install and work with PVS-Studio for CLion and Rider plugins. Below you'll read a brief instruction on how to install and first run PVS-Studio in CLion.
Any beta-test collects users' feedback on a new product, usability, and inevitable bugs that are always present in early versions. This beta test is no exception. If you found an error or simply want to share your experiences about the new PVS-Studio plugin, be sure to reply to the email you've received when registering to our beta-test,or contact us using the feedback form.
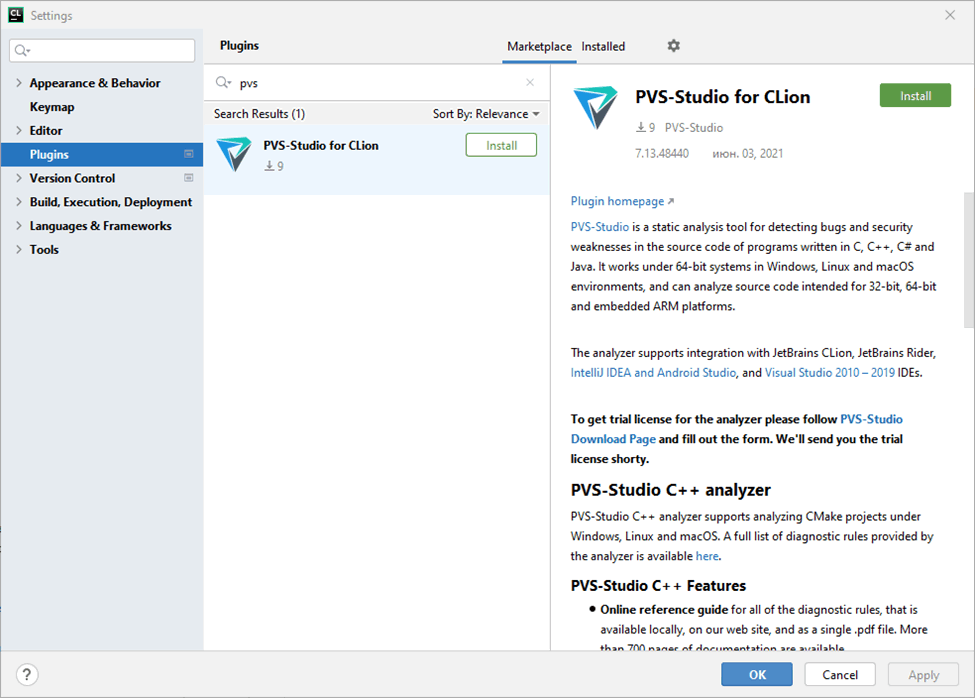
Run CLion and select File->Settings->Plugins, then select the Marketplace tab, and enter 'PVS-Studio' in the search field. Next, install the PVS-Studio for CLion plugin.
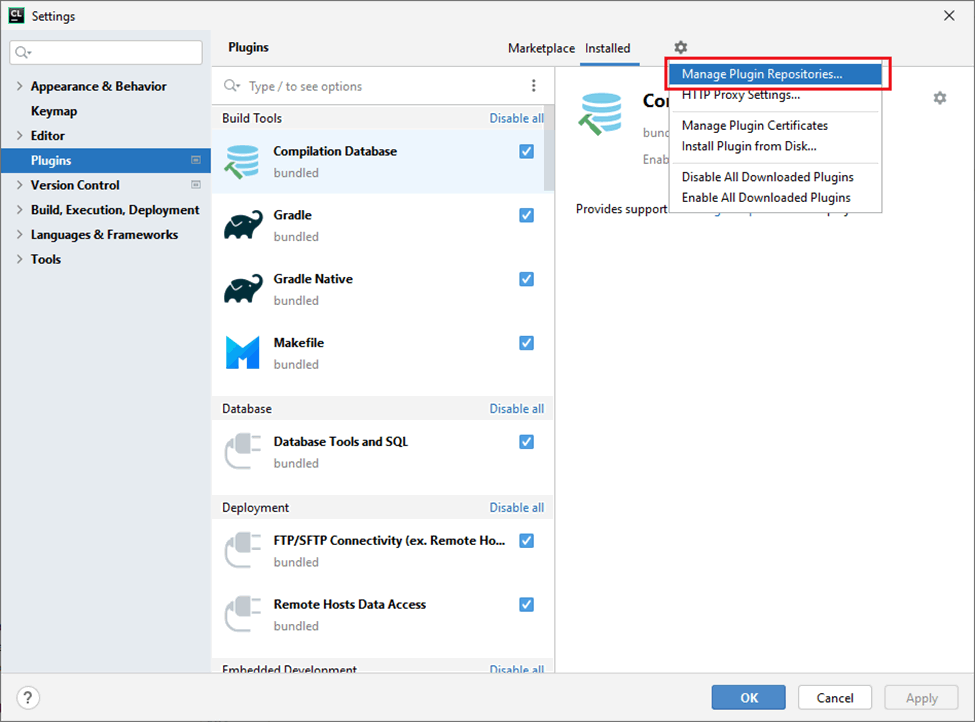
This step is similar to the previous one, but first you need to set up CLion for a new repository. To do this, go to File->Settings->Plugins, click on the "gear" icon on the right side of the window, and select Manage Plugin Repositories from the drop-down menu.
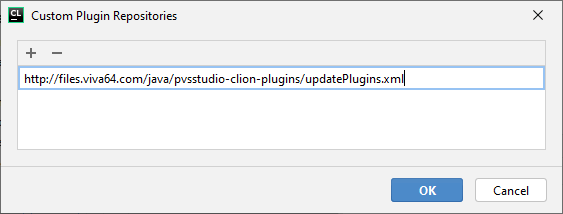
In the opened window, add the http://files.pvs-studio.com/java/pvsstudio-clion-plugins/updatePlugins.xml path. Click OK.
Next, install the plugin similar to the previous step.
If you use a Windows operating system, you can install the plugin and the analyzer core from the distribution. To do this, download and run the installer from here. Download the ".exe" installer file in the Windows column of the table.
Besides the plugin itself, you must also install the C++ analyzer core. This way PVS-Studio will work correctly in CLion. To do this, follow this link and download a distribution for your platform. If you have installed a distribution for Windows, you can skip this step.
If you work on Linux or macOS, you can also use the following installation commands:
wget -q -O - https://files.pvs-studio.com/beta/etc/pubkey.txt | \
  sudo apt-key add -

sudo wget -O /etc/apt/sources.list.d/viva64-beta.list \
  https://files.pvs-studio.com/beta/etc/viva64.list

sudo apt-get update
sudo apt-get install pvs-studiowget -O /etc/yum.repos.d/viva64-beta.repo \
https://files.pvs-studio.com/beta/etc/viva64.repo
yum update
yum install pvs-studiowget -q -O /tmp/viva64-beta.key https://files.pvs-studio.com/beta/etc/pubkey.txt
sudo rpm --import /tmp/viva64-beta.key
sudo zypper ar -f https://files.pvs-studio.com/beta/rpm viva64-beta
sudo zypper update
sudo zypper install pvs-studiobrew install viva64/pvs-studio/pvs-studio-betaAfter you register as a beta-tester and get a registration key, go to the Tools->PVS-Studio->Settings window to activate the license. Go to the Registration tab in the settings window.
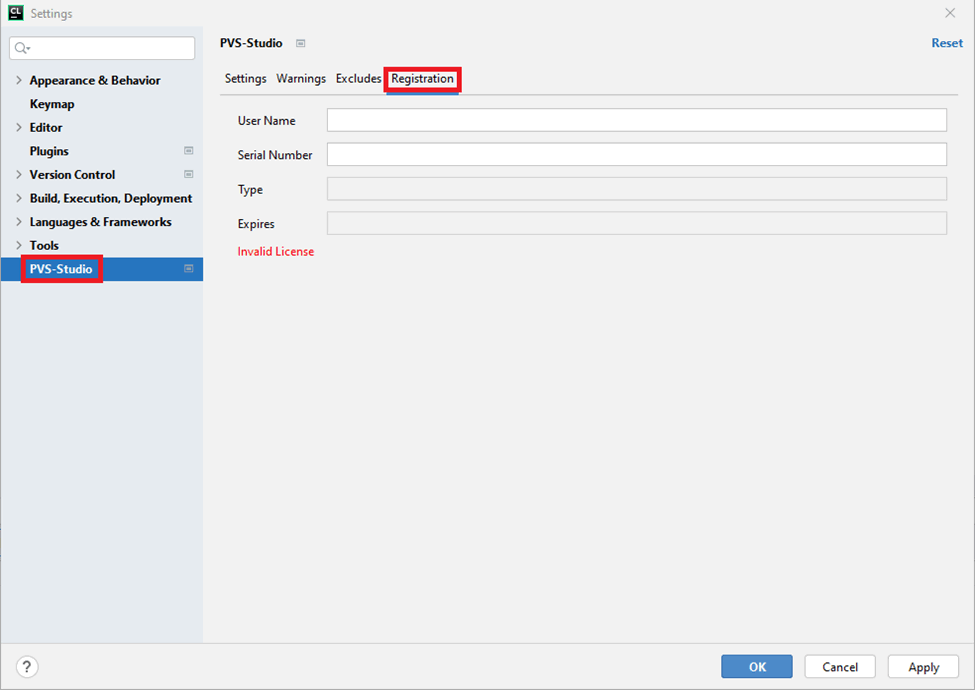
Enter the corresponding license data in the User Name and Serial Number fields. A quick reminder - you can get the registration key here: early access page.
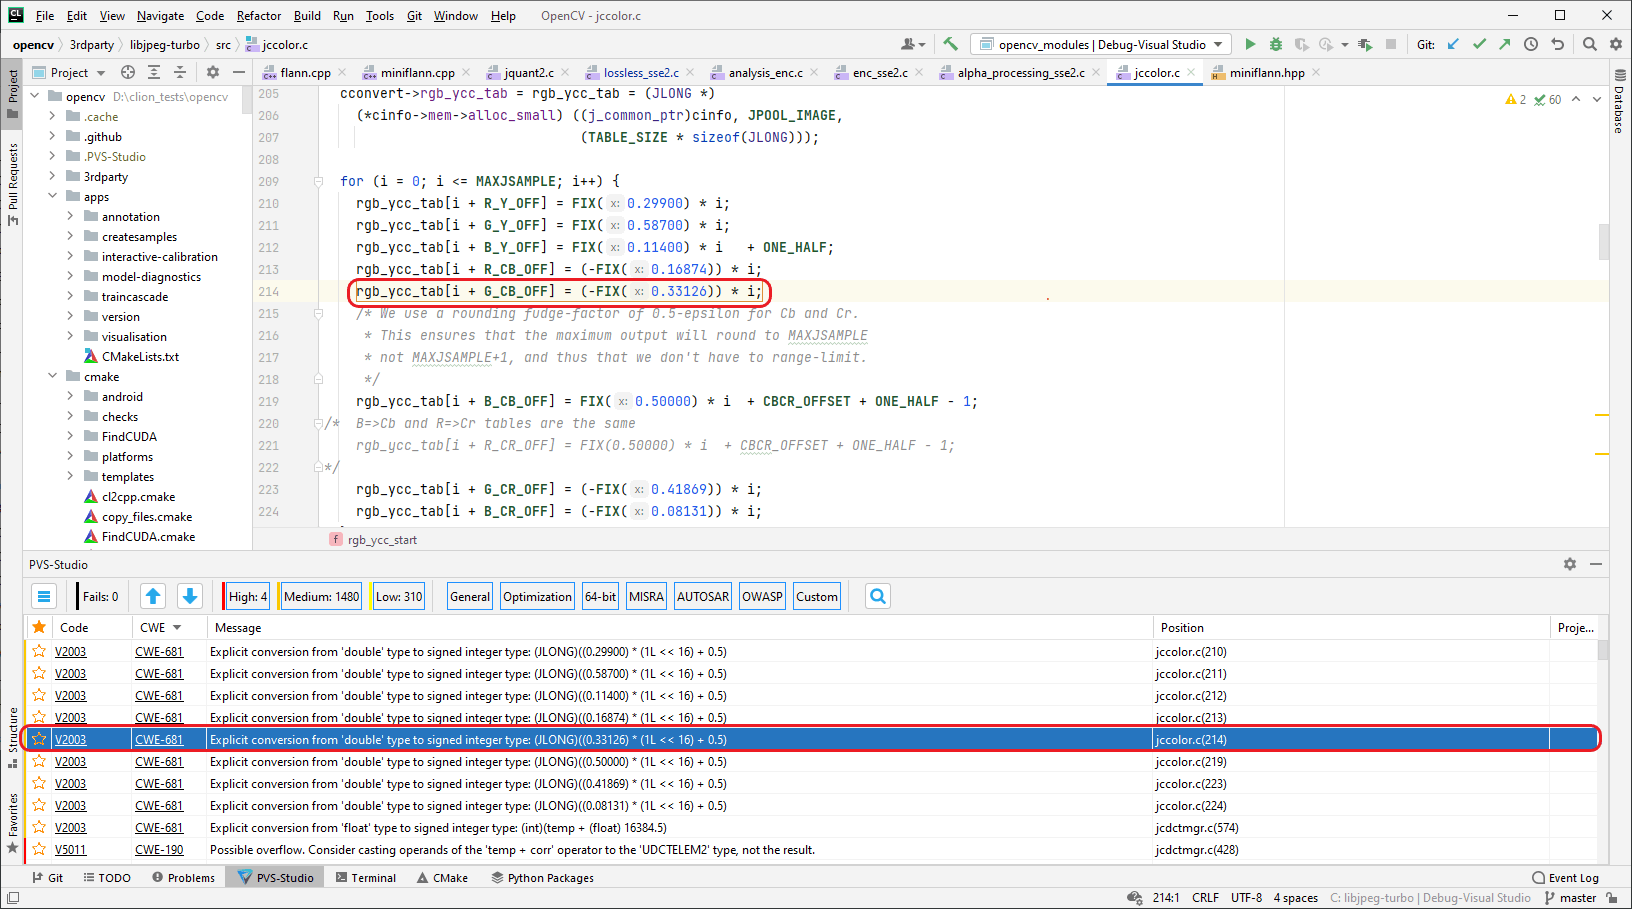
Once installed and configured, the plugin will roughly look like the screenshot below.
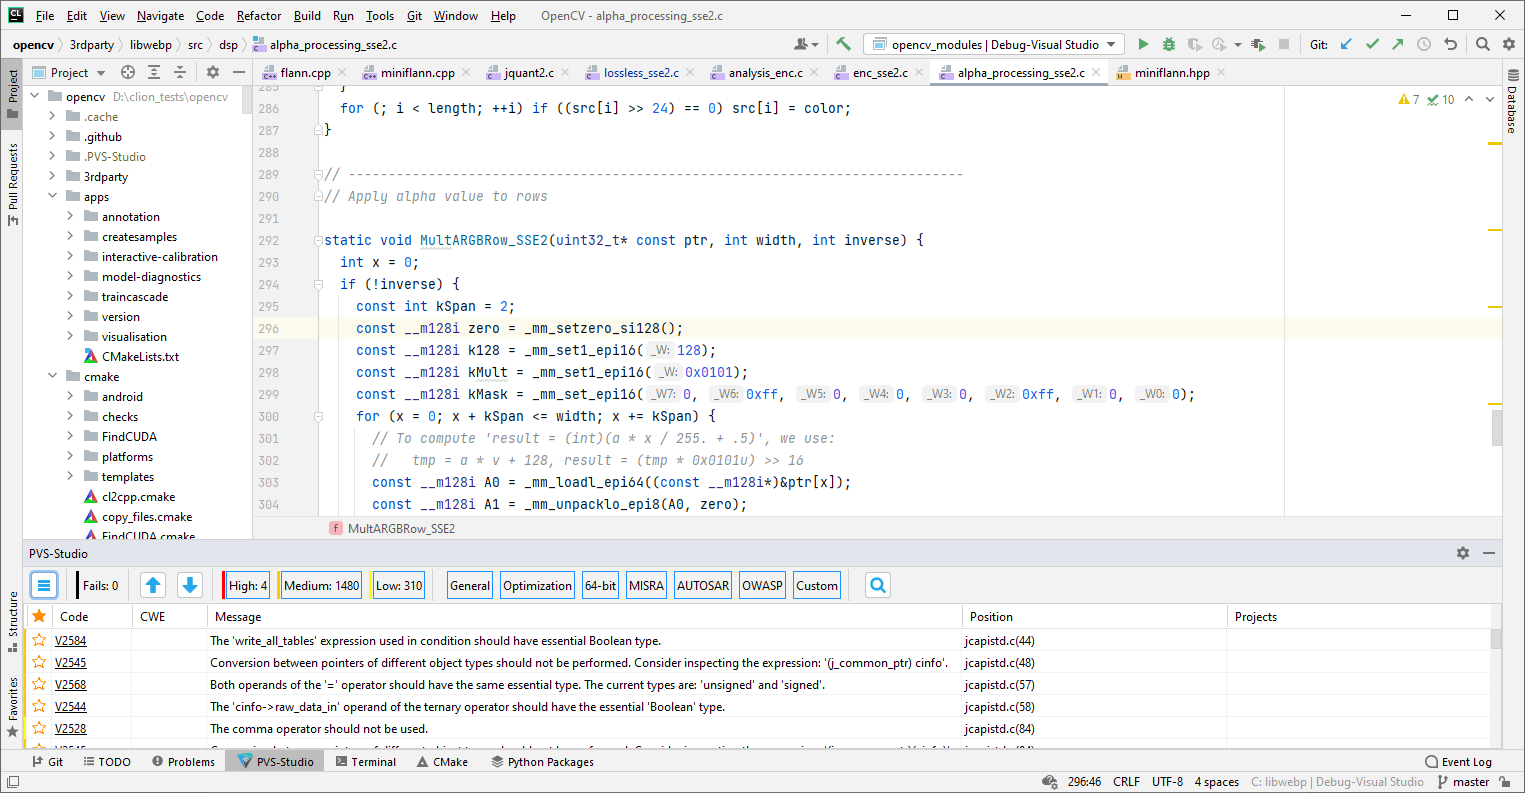
The plugin allows you to analyze CMake projects opened in CLion, as well as individual selected files.
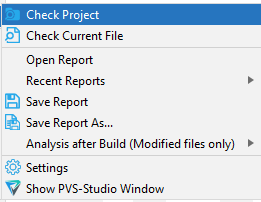
To run the analysis, click Tools->PVS-Studio->Check Project.
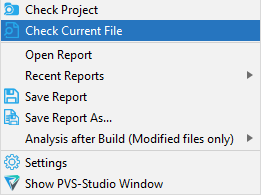
To analyze selected files, click Tools-> PVS-Studio -> Check Current File.
See analysis results in the PVS-Studio window:
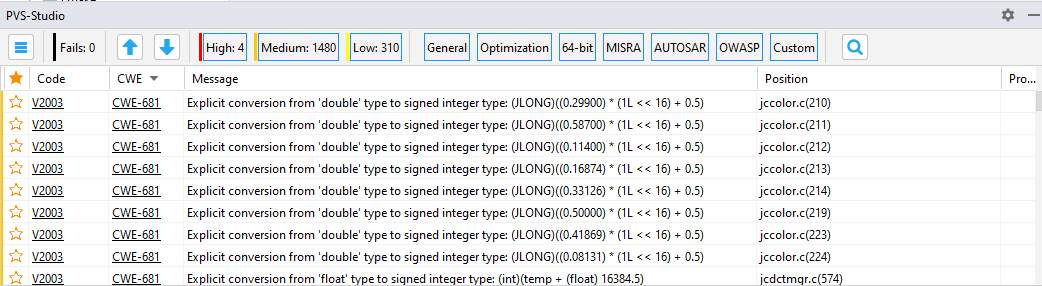
A table that consists of columns with warning error codes, problem descriptions, positions, etc.
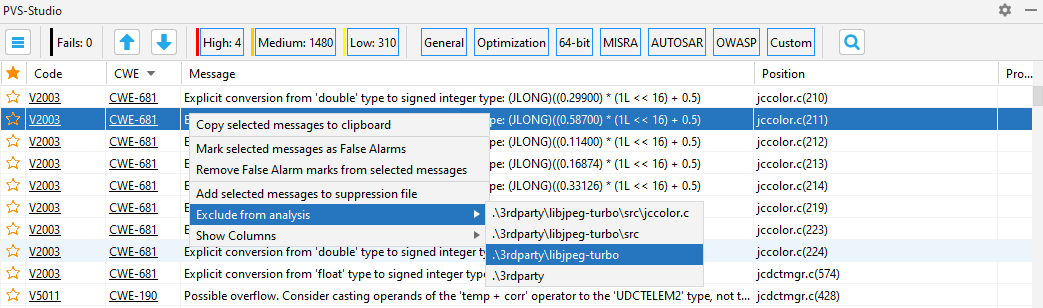
Right-clicking on the PVS-Studio analyzer message will open a context menu that contains additional commands for selected analyzer messages.
'Mark selected messages as False Alarms / Remove false alarm masks' marks analyzer warning as a false positive. The command adds the code that triggered a warning and a special comment.
'Exclude from analysis' adds a path or a part of the path to the list of directories excluded from the analysis. In turn, a path or a part of the path indicate the file with analyzer warning. All files that fall under this filter will be excluded from the analysis.
Double-clicking the left mouse button on the line will open a file on that very line where the analyzer warning was found.
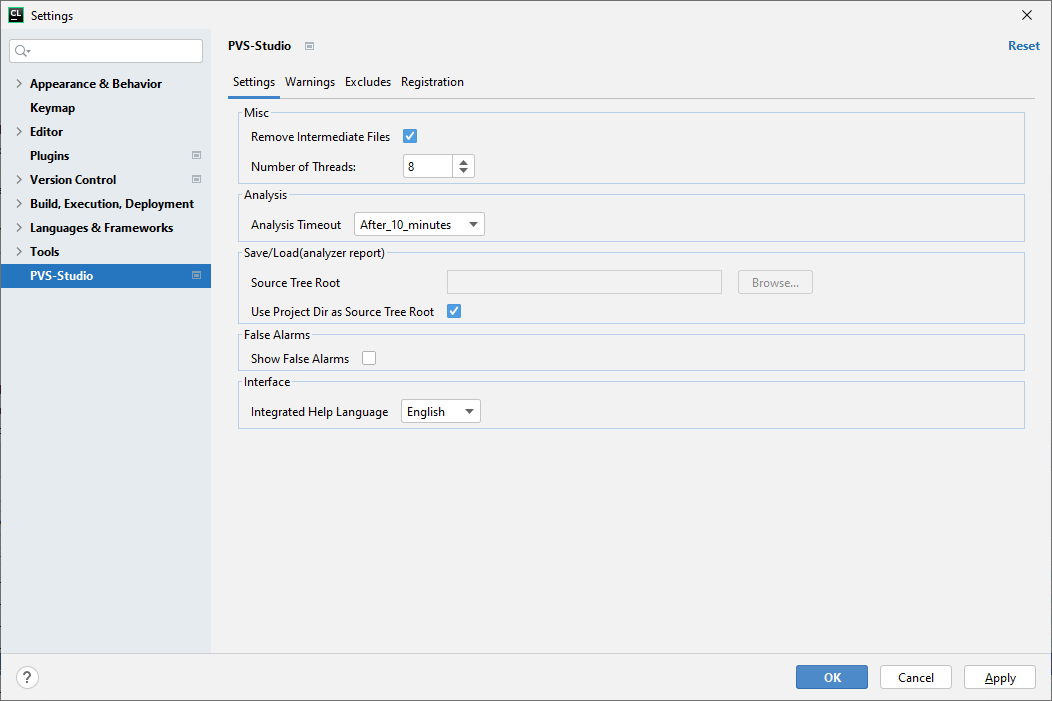
To open the plugin settings window, go to Tools->PVS-Studio->Settings. The plugin settings panel has several tabs. Let's look closer at each of them.
Settings — PVS-Studio analyzer core settings. When you hover the mouse over the name of a setting, a hint shows up describing what the setting is for.
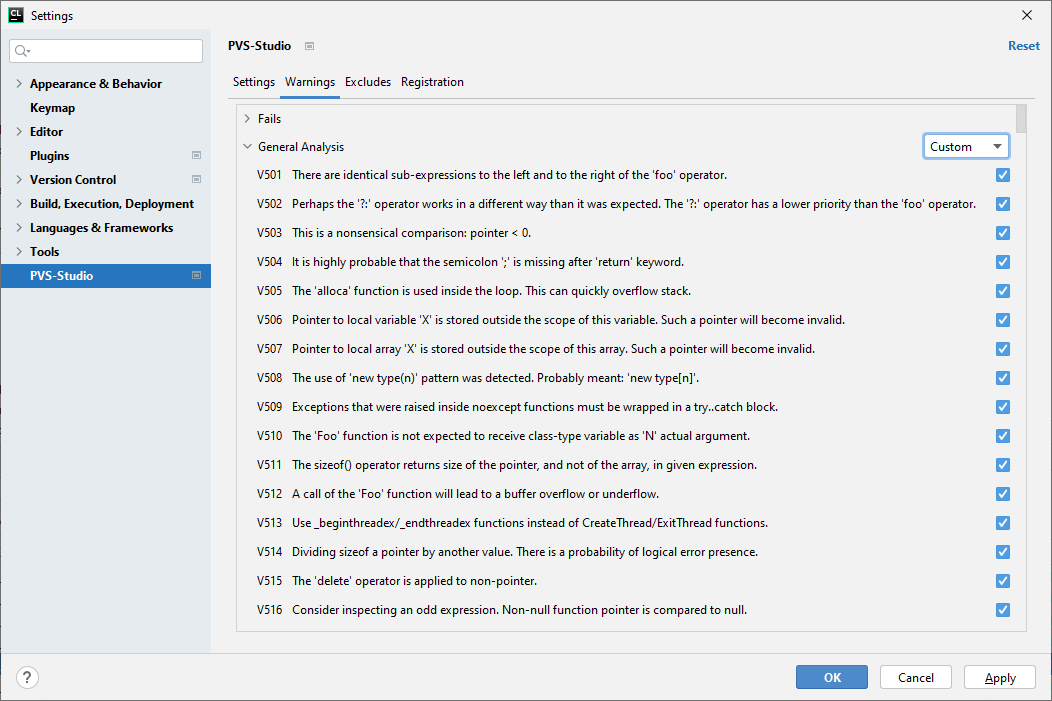
Warnings — list of all warning types supported by the analyzer. If you untick a warning, all warnings of this type will be filtered in analyzer output table:
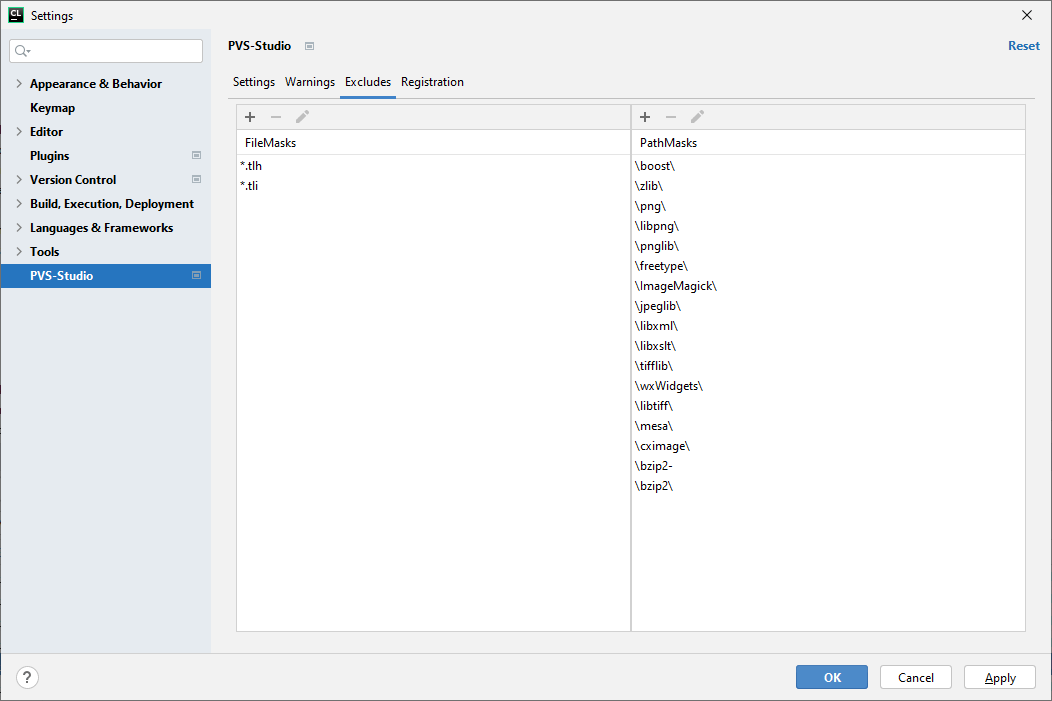
Excludes — contains masks for file names and paths that will be excluded from analysis.
Numerous existing analyzer warnings on legacy code often interfere with using static analysis regularly. Such code is usually well tested and stably works. So it may not be practical to correct all existing analyzer warnings. This may take a long time especially when the code base size is large enough. Warnings for existing code mix up with the ones generated on the new one, which is still in development.
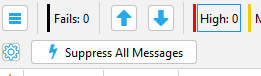
To solve this problem and start using static analysis regularly, PVS-Studio offers the ability to "disable" messages for the old code. To suppress analyzer messages for the old code, use the main menu command 'Tools -> PVS-Studio -> Suppress All Messages' or the 'Suppress All Messages' button on PVS-Studio window panel. The suppression mechanism works as follows. First, you run the 'Suppress All Messages' command. Then suppressed warnings get into special suppress files. When you start the analysis later, all messages added to such suppress files will not appear in the analyzer report. The suppression system with suppress files is quite flexible. Let's say, you changed or moved code fragments that trigger suppressed warnings. The system can still "track" such messages.
In CLion, suppressed warnings are added to suppress_base.json. This file is written in the .PVS-Studio directory in the root directory of the project opened in CLion. To return all messages to the analyzer output, delete this file and restart the analysis.
Check out the article "How to introduce a static code analyzer in a legacy project and not to discourage the team".
To save or load the analyzer results, use the main menu commands in 'Tools -> PVS-Studio':
'Open Report' opens the .json report file and uploads its contents to the grid of the 'PVS-Studio' window.
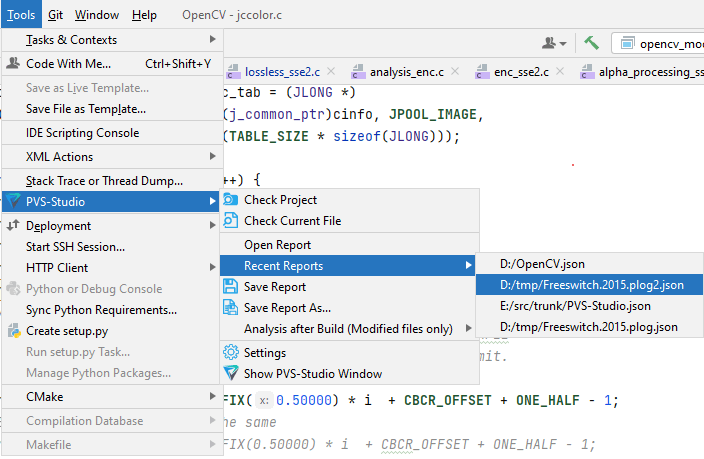
The 'Recent Reports' submenu shows a list of the most recent report files that have been opened. If the report still exists by the path, clicking on a report file in the list will open the corresponding report. Its contents will be uploaded to the 'PVS-Studio' window.
'Save Report' saves all messages from the window (even the filtered ones) to the .json report file. If the current analysis has not yet been saved, you must specify a name and a place to save the report.
Similarly, 'Save Report As' saves all warnings from the window (even the filtered ones) to the .json report file, always offering to choose where to save the report.
We usually recommend running full analysis regularly, such as once a day, at night. In addition to nightly analysis, we highly recommend checking new code immediately after writing it. This way you'll get the best advantage of using the analyzer. To do this, use incremental analysis, which works as follows. A project was changed, a developer runs a build. After successful compilation only modified files will be analyzed. Modified files are the ones that have been changed since the previous analysis.
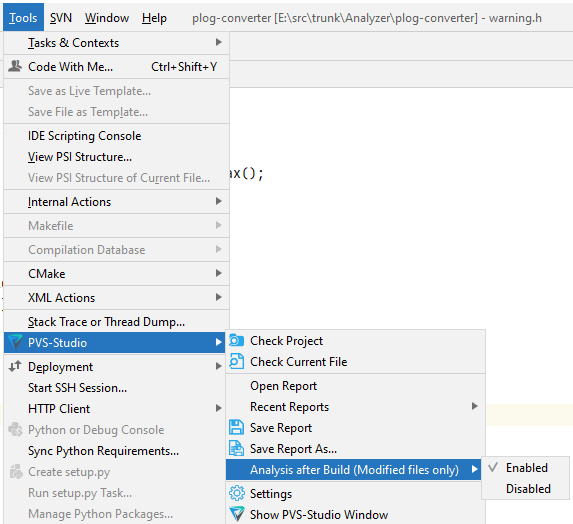
You can enable or disable incremental analysis. Choose the option Tools->PVS-Studio->Analysis after Build (Modified files only) and then Enabled or Disabled.
By adding support for a new IDE - JetBrains CLion- we hope to make our analyzer more convenient for C++ users on all supported platforms (Windows, Linux, macOS). Although there are still many development environments with no direct PVS-Studio integration, apart from the possibility to use standard compiler warning viewing functionality, we plan to increase the number of IDEs we support directly in the future.
Based on the interest of our users, Visual Studio Code will be the most likely next candidate for such support. Please write us if you'd like our analyzer to be directly integrated into "your" IDE. Your idea may become part of our plans as well.
And as a closing note, let me remind you once again that you can register for the beta-testing and write us about your problems and wishes using the feedback form.
0
0
0
0