
Running PVS-Studio in Buddy
Buddy is a platform that allows you to automate the building, testing, and publishing of software. It supports the following hosting services: GitHub, Bitbucket, GitLab.
This documentation describes an example of the PVS-Studio integration for analyzing C and C++ code. The commands to run PVS-Studio for analyzing C# or Java code will be different. Please consult the following documentation sections: "Analyzing Visual Studio / MSBuild / .NET projects from the command line using PVS-Studio" and "Direct use of Java analyzer from command line".
General Settings
Creating a pipeline
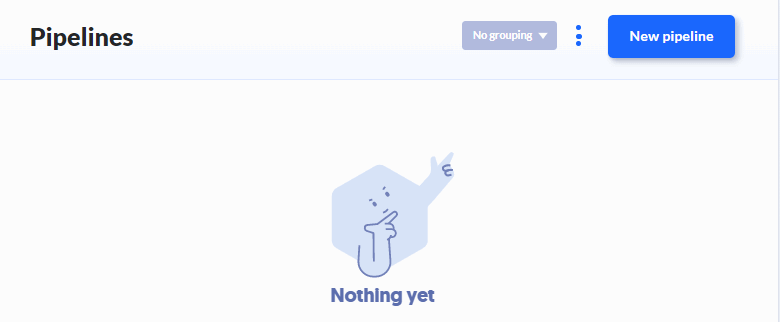
First, create a pipeline where the analysis will be launched. To do this, go to the project settings and click 'New pipeline':
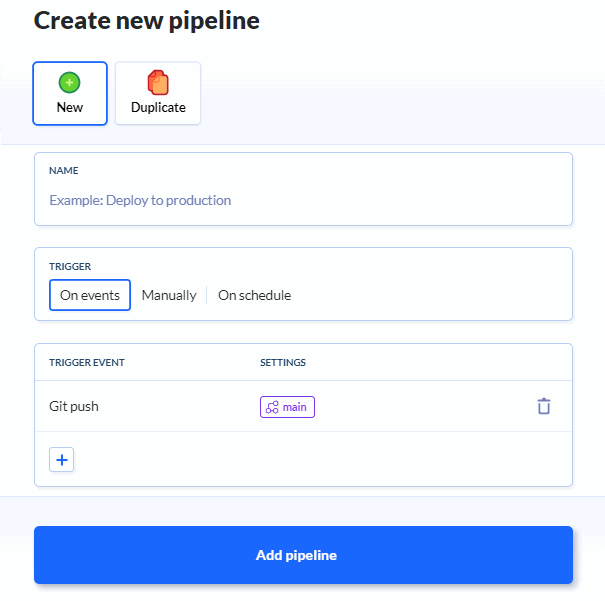
In the window that appears, specify the configuration, the pipeline name, and the condition for its launch. After entering the data, click 'Add pipeline':
Pipeline setup (only for pull requests analysis)
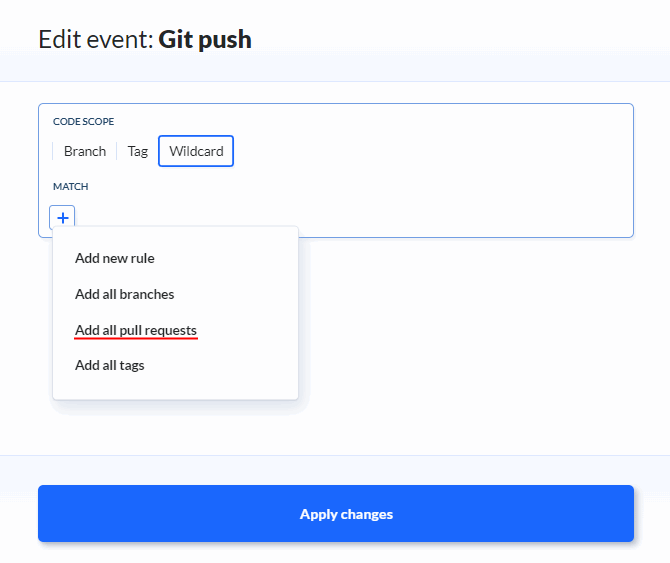
To analyze pull requests, select 'On events' as the trigger. The trigger event is 'Git create branch, tag or PR'. Next, go to the trigger settings and add 'all pull requests' on the 'Wildcard' tab:
Choosing a compiler
Once the pipeline is created, you need to specify the compiler to build the project. Let's take GCC as an example and type its name into the search bar:
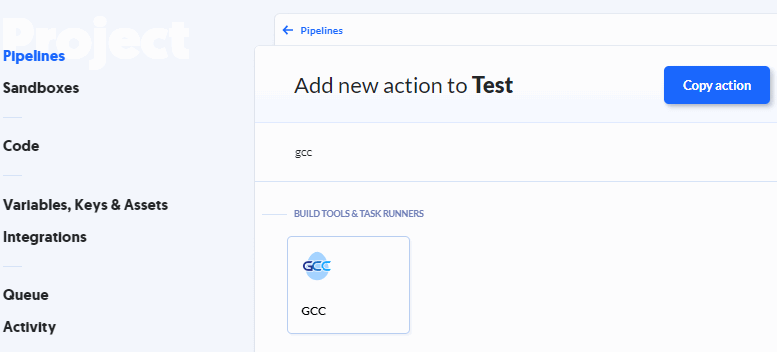
In the list of found compilers, select the one you need.
Creating environment variables
After the compiler is selected, you need to set the environment variables that will generate the license file. To do this, click 'Variables' and add the 'PVS_USERNAME' and 'PVS_KEY' variables. They will contain the user name and the license key respectively.

Installing the analyzer
Go to the 'Docker' tab and click 'Package & Tools':
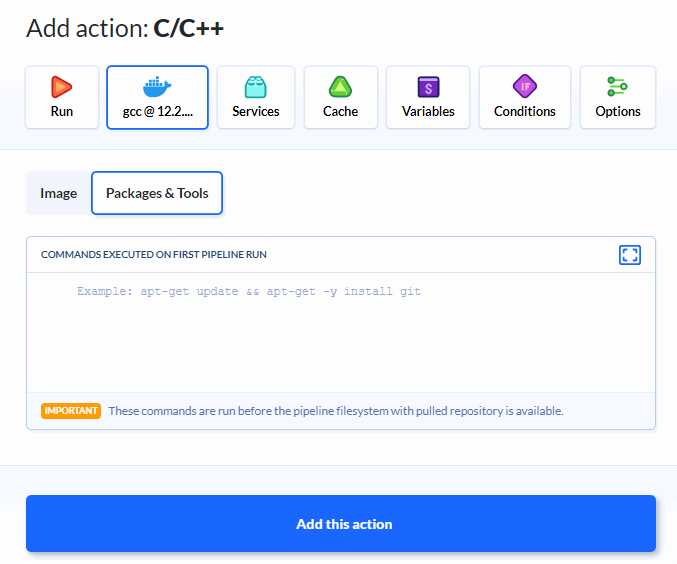
In the form that appears, enter the analyzer installation commands:
apt-get update && apt-get -y install wget gnupg jq

wget -q -O - https://files.pvs-studio.com/etc/pubkey.txt | apt-key add -
wget -O /etc/apt/sources.list.d/viva64.list \
  https://files.pvs-studio.com/etc/viva64.list

apt-get update && apt-get -y install pvs-studio
Running PVS-Studio in Buddy by example of the C++ project
Analysis of the entire project
To analyze the entire project, go to the 'Run' tab:
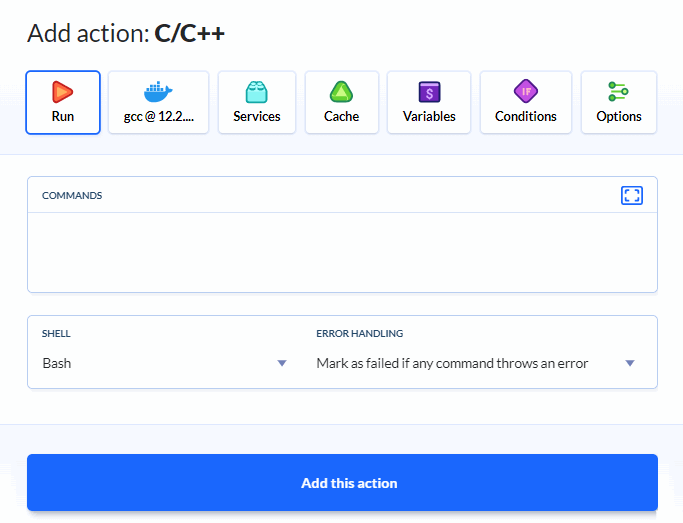
In the form that appears, enter the following commands to start the analyzer:
pvs-studio-analyzer credentials $PVS_USERNAME $PVS_KEY

pvs-studio-analyzer analyze -j8 \
                            -o PVS-Studio.log \
                            --disableLicenseExpirationCheck

plog-converter -t errorfile PVS-Studio.log --cerr -w
After entering the data, click 'Add this action'.
After execution of this pipeline, a report will be generated with the analysis results. It will be saved to the 'PVS-Studio.errorfile' file.
Documentation on the utilities used:
Pull requests analysis
To analyze pull requests, go to the 'Run' tab.
In the form that appears, enter the pull/merge requests analysis commands:
pvs-studio-analyzer credentials $PVS_USERNAME $PVS_KEY

if [ "$BUDDY_EXECUTION_PULL_REQUEST_NO" != '' ]; then
  PULL_REQUEST_ID="pulls/$BUDDY_EXECUTION_PULL_REQUEST_NO"
  MERGE_BASE=`wget -qO - \
    https://api.github.com/repos/${BUDDY_REPO_SLUG}/${PULL_REQUEST_ID} \
    | jq -r ".base.ref"`

  git fetch origin

  git diff --name-only HEAD origin/$MERGE_BASE > .pvs-pr.list
  pvs-studio-analyzer analyze -j8 \
                              -o PVS-Studio.log \
                              --disableLicenseExpirationCheck \
                              -S .pvs-pr.list
else
  pvs-studio-analyzer analyze -j8 \
                              -o PVS-Studio.log \
                              --disableLicenseExpirationCheck
fi

plog-converter -t errorfile PVS-Studio.log --cerr -w
After entering the data, click 'Add this action'.
After execution of this pipeline, a report will be generated with the result of checking the modified files. It will be saved to 'PVS-Studio.errorfile'.
Documentation on the utilities used:
Here is the documentation on the analysis of the pull/merge requests.
Was this page helpful?